
Google Analytics Installation Guide for WordPress’s user

Beginner’s Guide: Google Analytics WordPress
By knowing how your website is preforming is crucial for your business success. The only way to do this is to check your traffic stats for analysis and measurement so that you will be able to make tweaks and improve your overall site’s performance if needed. In fact, after you build a website/ blog using WordPress, the next thing you should do is to have your Goggle analytic in place.
In this article, I will show you:
1. Why is Google Analytics Important For All Online Business
2. How to sign up an account with Google Analytics (FREE)
3. How to install Google Analytics WordPress
so let’s get started…
1.Why is Google Analytics Important For All Online Business
The advantage of having an online business is that it is open 24/7 and you don’t have to be physical presence to maintain your E-store. However, this pose a problem for online businesses to keep
track of how many visitors they have per day, how long they stay on the website, where are they from, which webpage did they visit etc. Thus, the only way to keep track the traffic stats is to install Goggle Analytics (Free) to your WordPress.
What can you track using Google Analytic?
Once you signed up an account with Google analytics > under “Reporting” tab, you will be able to get detailed report of how your website is doing.
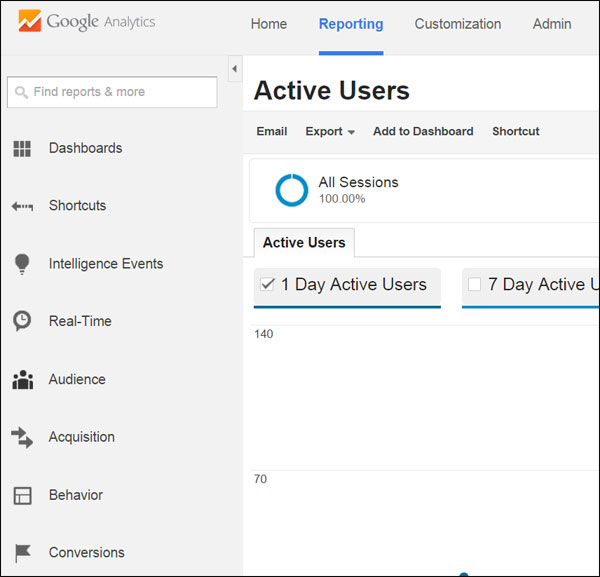
Real Time
This is in real time mode, meaning you’ll get to monitor all the statictics in real time happened in the last 30 mintues.
Location: It allows you see which country/city the active users are from.
Traffic Sources: This allows you to see which traffic channels (Organic search, paid search, link follows, Facebook etc.)
Content: Which pages is viewed by the visitors Audience
Audience
Under this section, you will be able to monitor your audience by:
Demographics: Allows you can monitor your audience’s age and gender.
Interests: Allows you to monitor their behaviour and interests such as food & drinks, technology, sports, travel etc.
Geographic: You will see which “Location” they come from and what “Language” they use.
Behavior: The number of new visitors or return visitors, the duration and frequency of the sessions.
Technology: Which Browser and OS your visitor use to view your website (Chrome, Safari, Firefox) and which wifi network they use.
Mobile: Whether they use computer, mobile phone or tablet and what kind of mobile devices they use.
Behaviour
This section allows you to see a details behaviours of what the visitors are doing in your website.
Site Content: Allows you to see which web pages your readers stay the longest, which web pages they usually land and leave immediately, how long they view the web pages etc.
Site Speed: Let you get insight of how long it takes for your website to load and speed suggestion.
Site Search: Let you get insight of what search terms your visitors used, any search refinements.
2. How to Sign Up An Account With Google Analytics (Free)
Step 1: Go to Google Analytics website
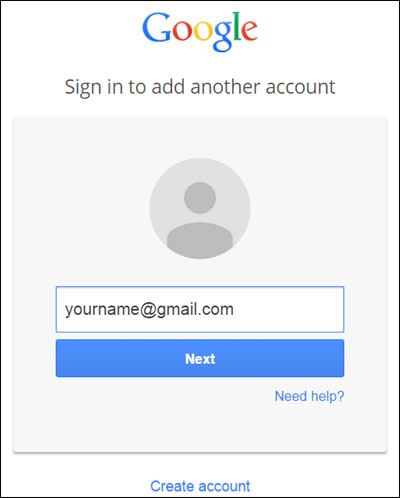
Step 2: Sign in to Google Analytcis using your Gmail account. If you do not have a Gmail account, you will have to create one yourself before you sign in to Google Analytics.

Step 3: Once you sign in to Google Analytics, you will be bought to the “Admin” page to create a new account.
Make sure “Website” is selected as there are two choices to choose from between Website or Mobile app >
Next, enter the information that are self explanatory on that page… account name, website name, website url etc…
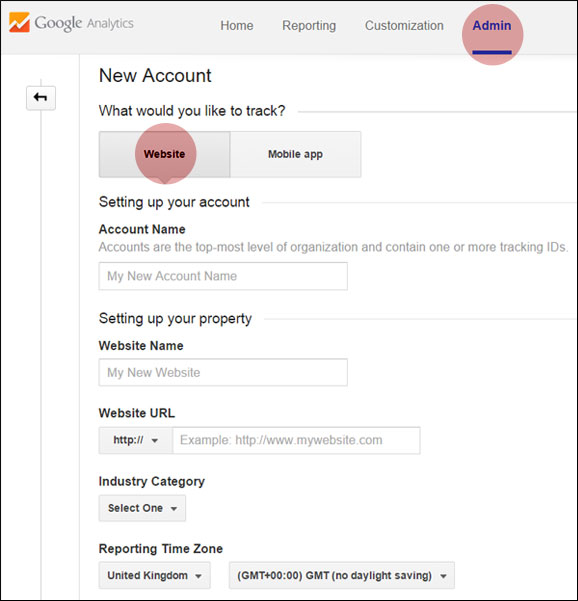
Once you are done, select “Get Tracking ID” at the bottom of the page.

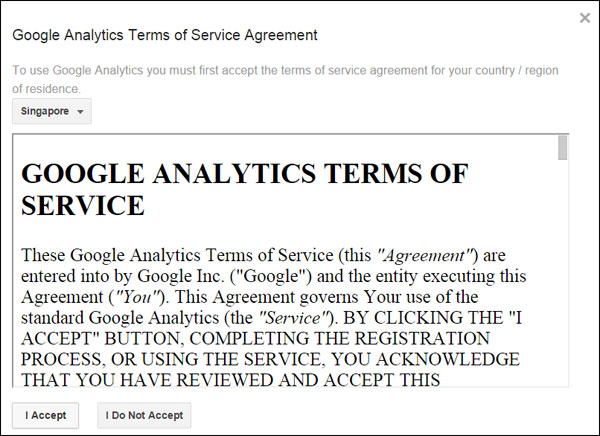
Step 4: There will be a pop up”Google Analytics terms and service” > Click “ I Accept” button after you set the country.
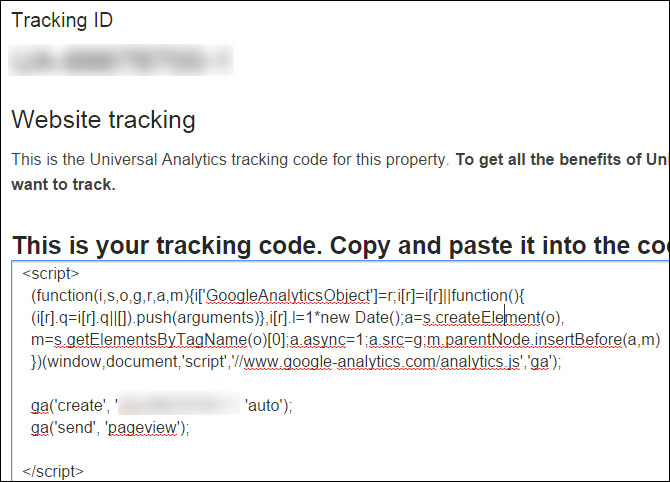
Step 5: On the next screen, you will see a “Tracking Code”. This is the code that you may need to enter in your WordPress site for verification purposes. So let’s go back to your WordPress site while you remain the Goggle Analytics’s browser open… you will need to come back later.
3. How to install Goggle Analytics WordPress
There are two method I personally prefer when it comes to install Google Analytics in your WordPress account.
Method 1: Copy Paste Tracking Code
Method 2: Installing Plugin to WordPress (Recommended)
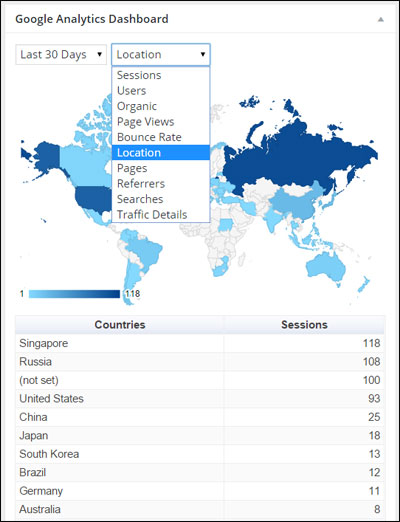
I personally like to use method 2: Plugin Method because once you have the plugin installed, you will be able to check the traffic stats at a glance found on your WordPress Dashboard, something like the below screenshot. Otherwise, you will have to login to your Google Analytics to check on the traffic stats although they provide a detailed reporting of the traffic stats. It really depends on your personal preferences….
If you decide on Method 1: Direct paste method, you will need the Tracking ID, otherwise you can ignore it if you go for Method 2.
Method 1: Copy Paste Tracking Code
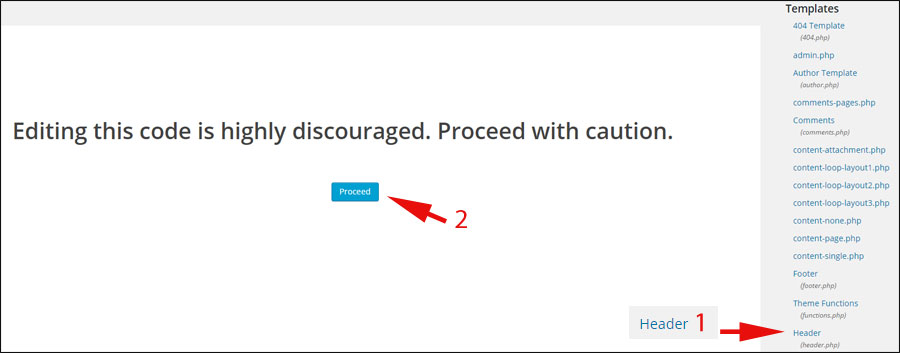
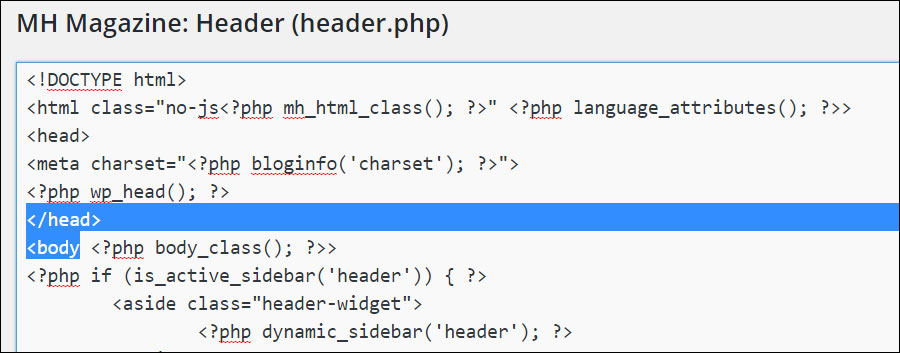
Step 1: Go to Appearance> Editor

Step 2: Select “Header” > Click “Proceed”
Step 3: Go back to your Google Analytics browser > Copy the whole code provided as seen below.
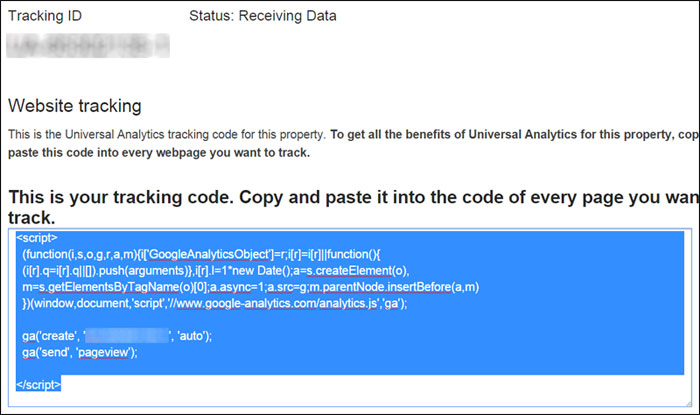
Step 4: Back to your WordPress browser > Paste the code in right after the <body> tag > Click “Update File” > Done
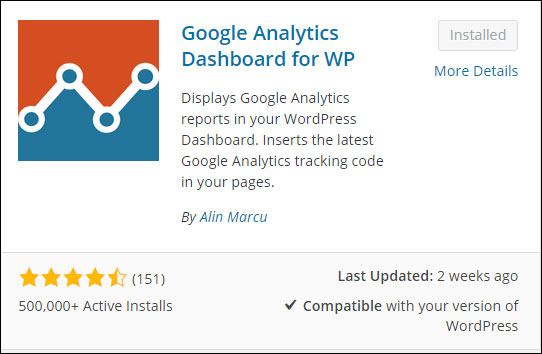
Method 2: Installing Plugins to WordPress
Step 1: On your left side menu of the WordPress account> Go to Plugins > Add New

Step 2: Search for Goggle Analytics Dashboard for WP > Click “Install Now” > and activate the plugin once you installed it.
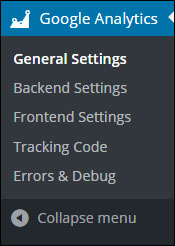
Step 3: After you activate the plugin, you will be able to find “Goggle Analytics” button on your left side menu > Click “General Settings”
Step 4: Click “Authorize Plugin”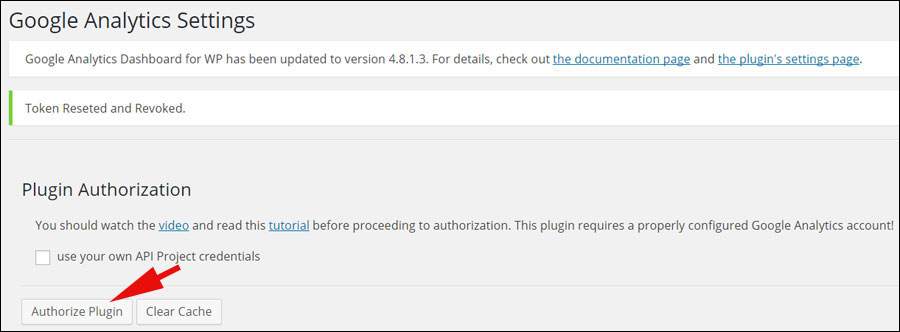
Step 8: Click “Get Access Code“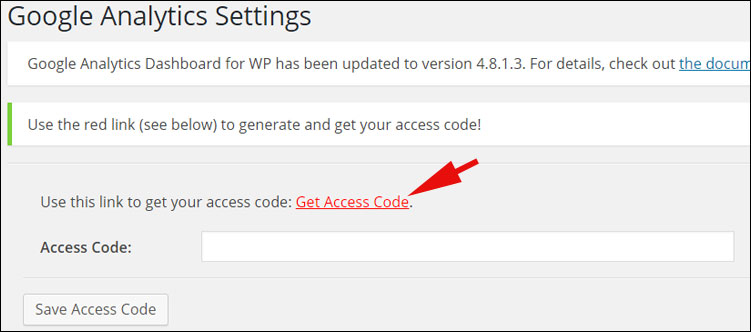
Step 9: Once you click “Get Access Code”, it will open another browser which is your Google Analytics dashboard for WP > Click “Accept” 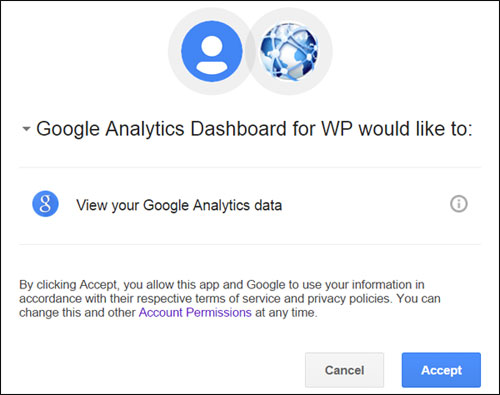
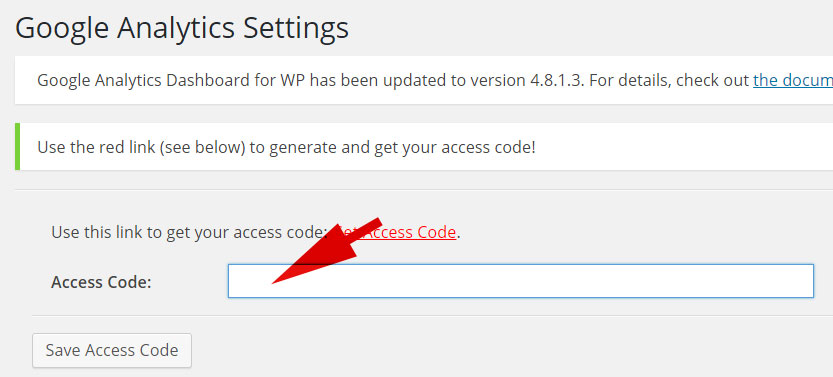
Step 10: Next, copy the code provided and go back to your WordPress browser: Google Analytics Settings .
Step 11: Paste the code in > Click “Save Access Code“
Done!
Plugin Auhorization Succeeded.
Now you should be able to see your Google Analytics Dashboard on your WordPress Dashboard.
Do note that it will takes a few days for Google to get your website statistic results.. so it should be empty now.